As I'm in the process of building a brand new portfolio of work that is focused on concept design. I wanted to make sure my 3D skills were on par with what I'm working on in 2D, so that they don't end up lagging behind. As such I wanted to create a complex environment scene to test my skills at modelling, texturing/shading, and lighting inside Blender.
I've been busy integrating Hard Ops into my Blender workflow, which has dramatically sped up my ability to build 3D assets compared to previous work I've created in 3D. The workflow used for the modelling aspect is all boolean based (Box Cutter), in combination with Hard Ops. By using a boolean based workflow, it allows me to build assets non-destructively, which allows me to tweak and make changes at any point during my building process.
The creative process began by collecting alot of photo reference of Tokyo, and Osaka to base my scene on, and to inform the visual direction of the scene. I chose Japan, Tokyo specifically as a subject to base my scene on, as like alot of people, I find Japanese culture fascinating. Especially the often overlooked aspects, such as the backstreets that are always packed full of visual information.
After reference was collected, and Image boards were quickly put together in Photoshop, I began blocking out the scene in its basic forms. This was an iterative process, which began by building the scene using assets I've specifically built for the environment, to build in a modular way as much as possible.
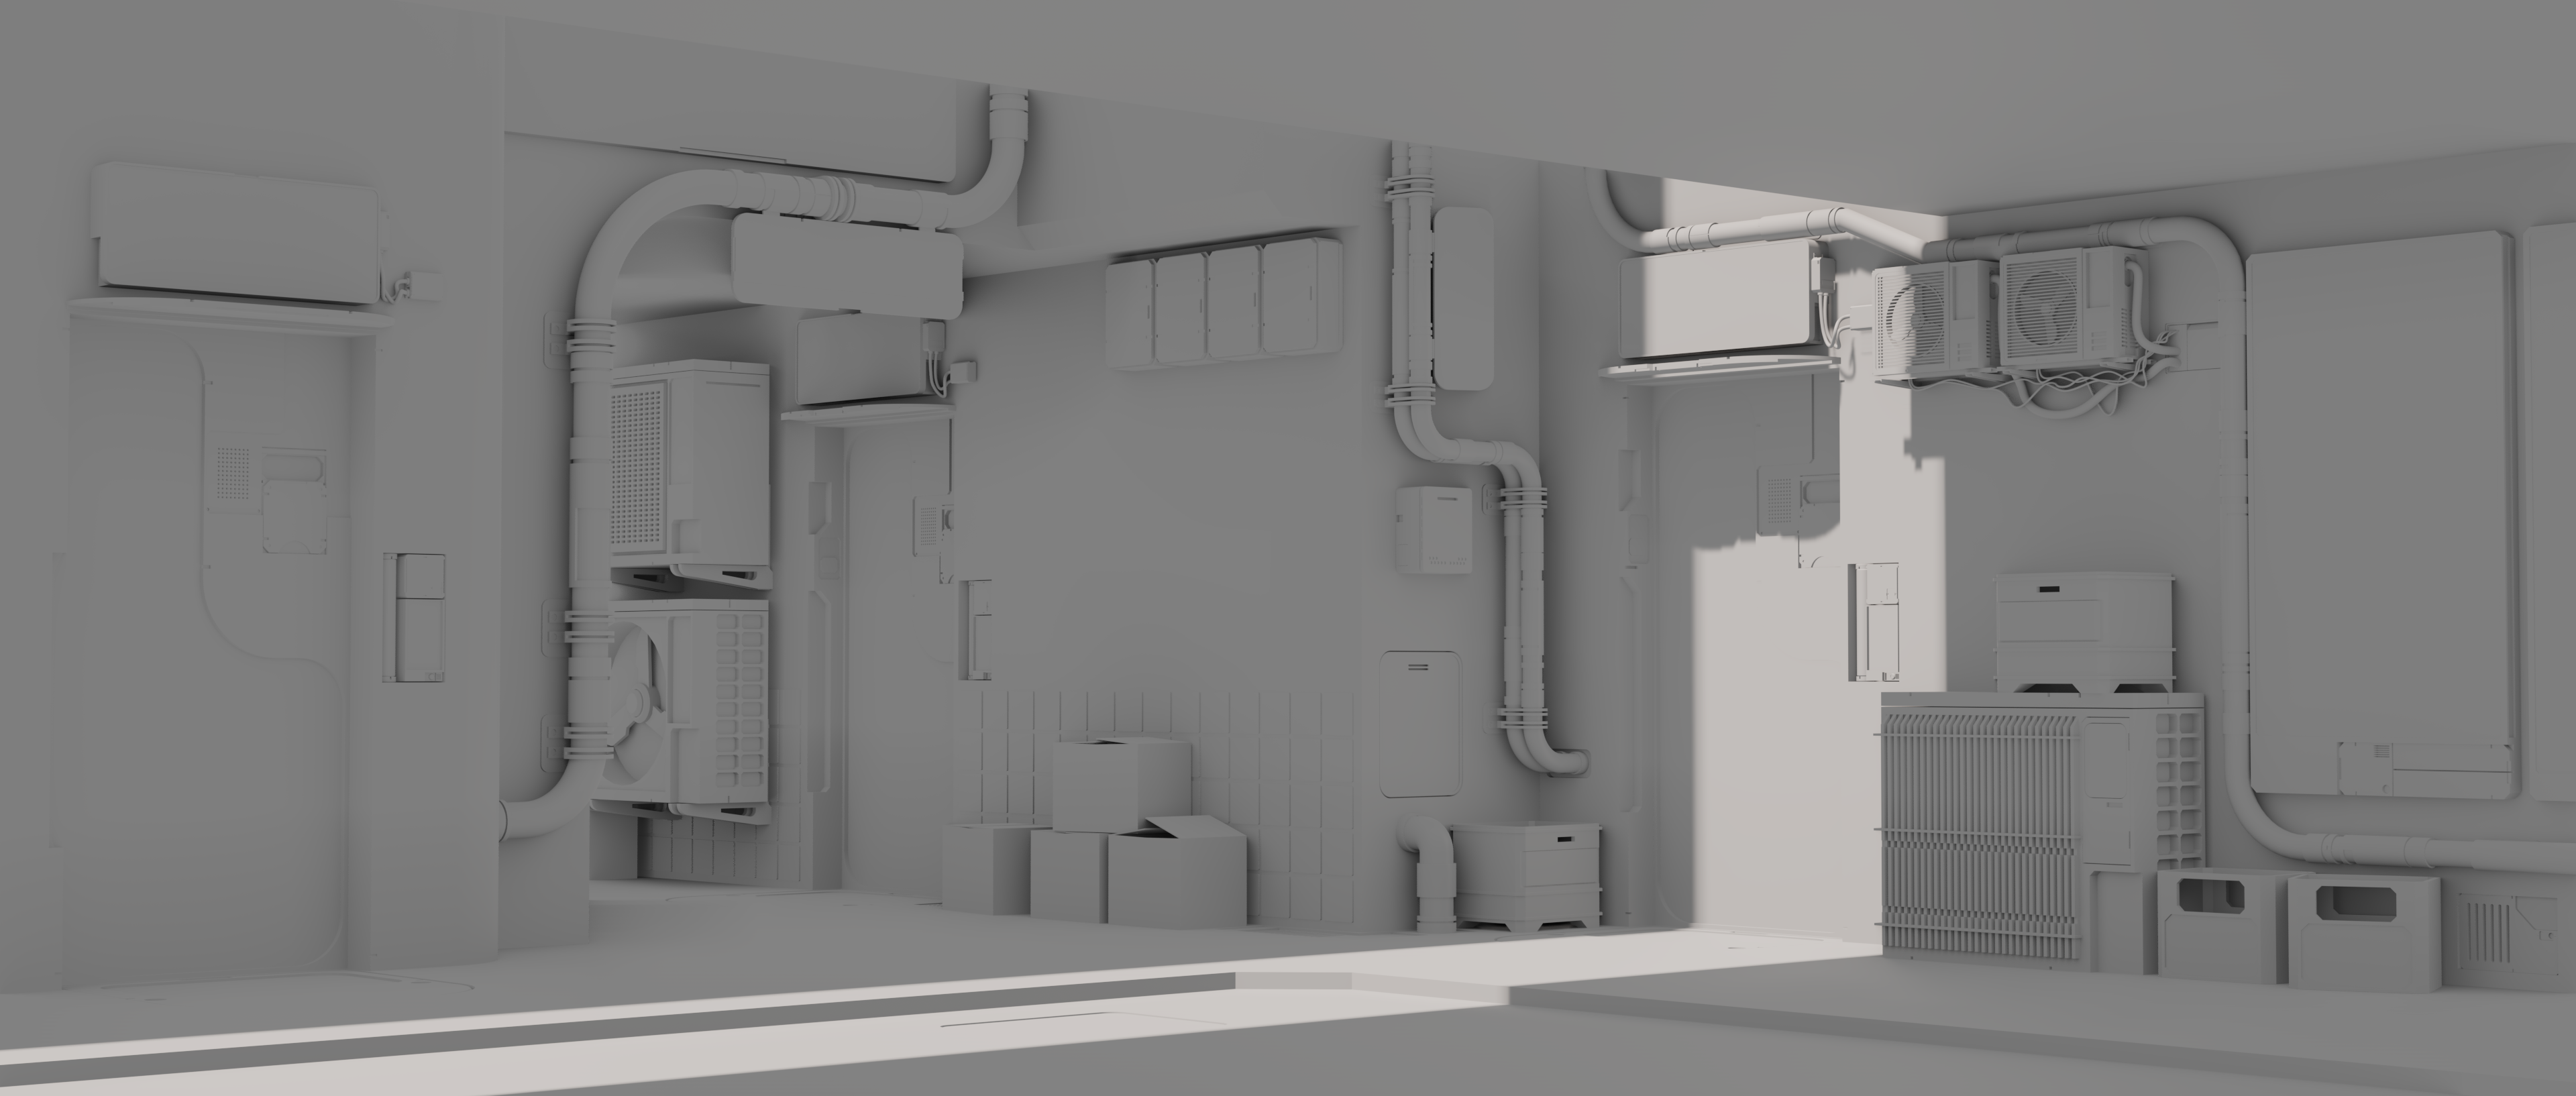
Below is a work-in-progress image at around the 85% mark in terms of the modelling process. At this stage all the major forms and landmarks are in place, although some areas might receive tweaks, or smaller details to create more visual interest. At this point I also expanded the image to 2.35 aspect ratio at 4K (3840 x 1634). This change from 16.9 was to make the scene feel more cinematic, whilst also providing extra screen space to add more assets to the scene.
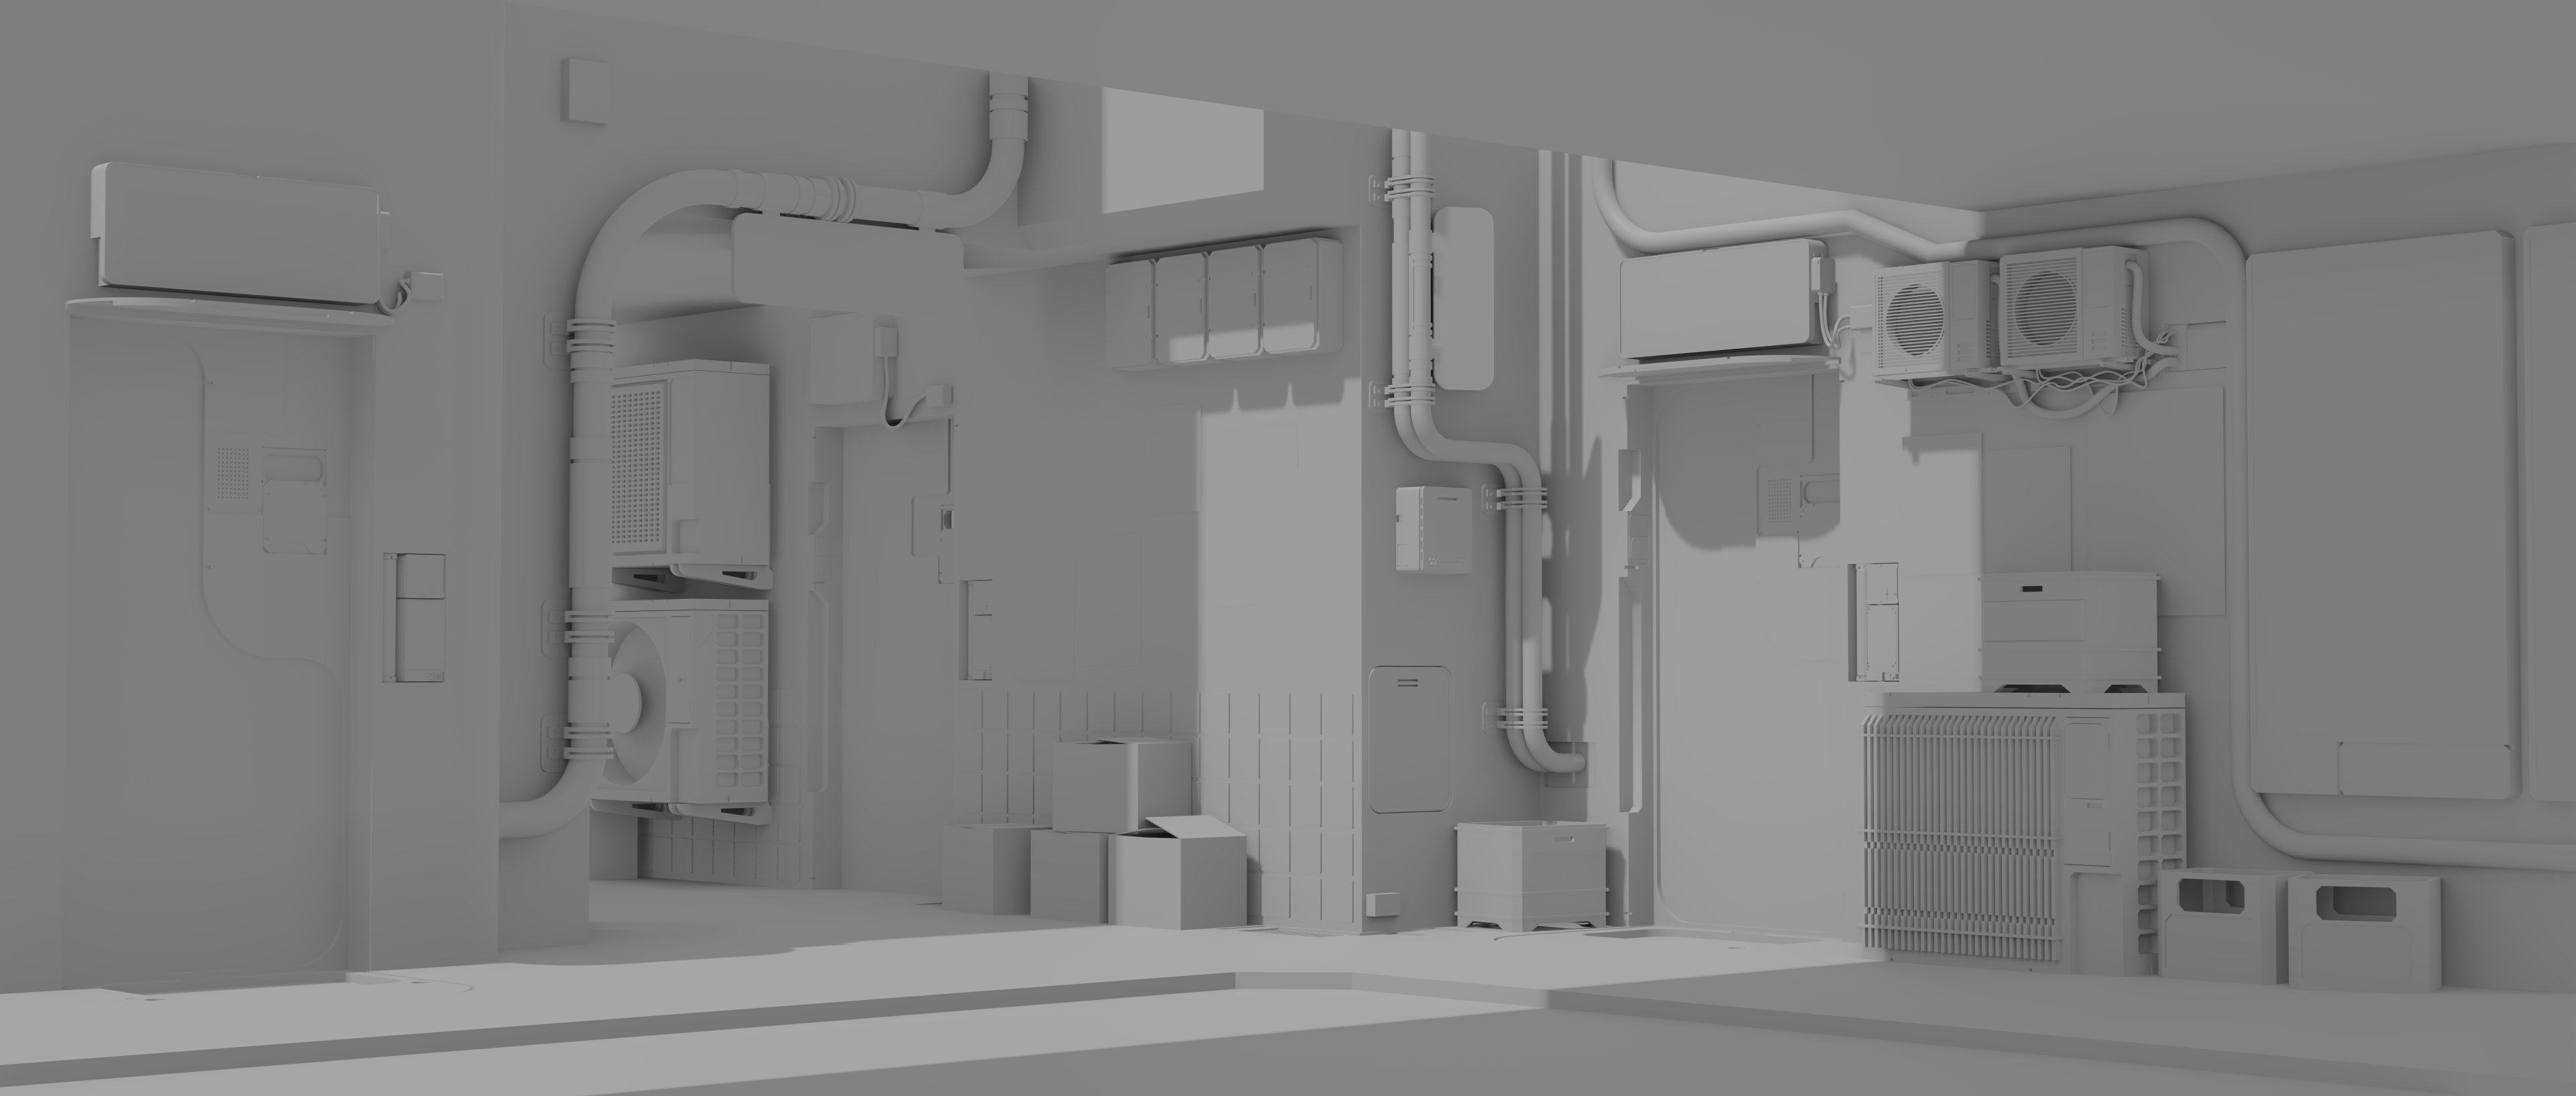
Basic Modelling - Finished
The basic modelling at this stage is complete and all the major forms/assets are in place. The next stage of the process is to apply all the modifiers, and add bevels to the meshes to add an extra level of realism. After the bevels are added to the meshes using Hard Ops, I can begin the UV, and texturing process.